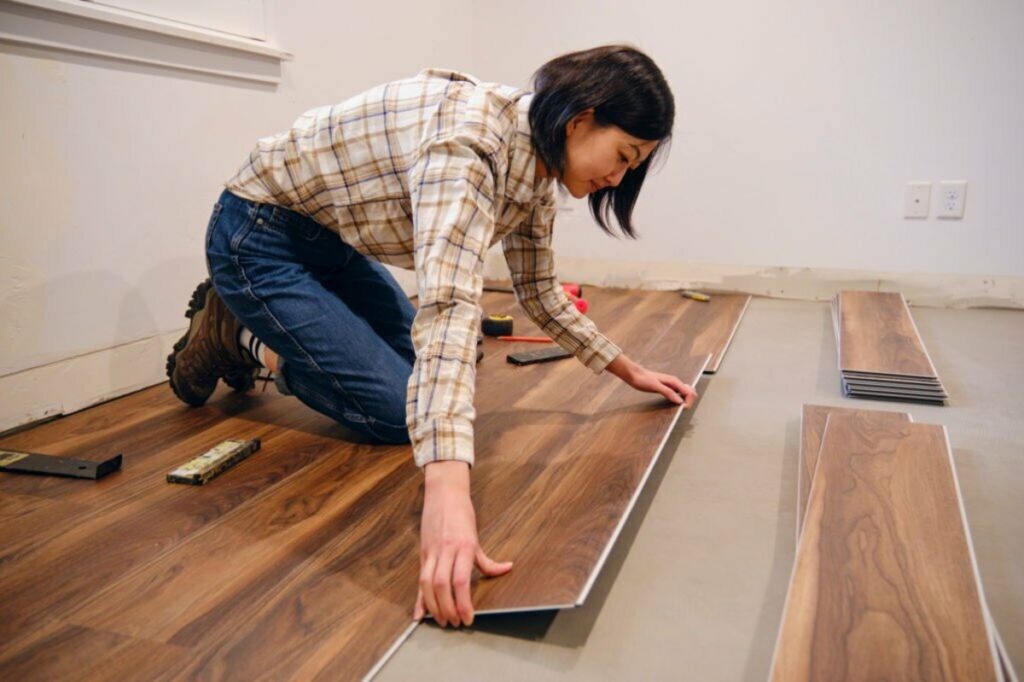
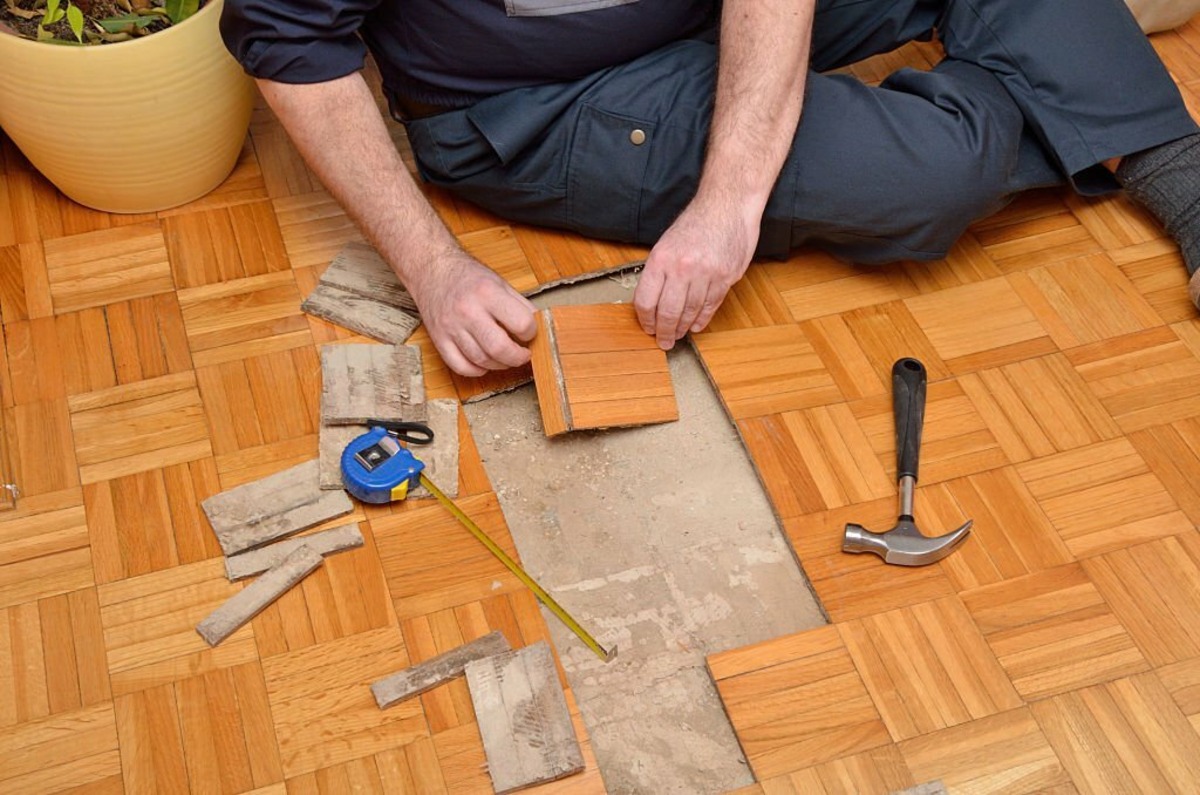
In our pursuit of the ultimate guide for removing and replacing real wood floors, we’ve crafted this comprehensive resource to assist you in tackling this demanding DIY project. Replacing genuine wood floors has the potential to elevate the elegance and worth of your home. With the right guidance, you can attain results that rival the work of professionals. Simply follow our step-by-step instructions to guarantee a successful replacement of real wood flooring. This will not only give your space a remarkable transformation but also put you ahead of the competition.
Preparing for the Real Wood Floor Replacement
Before you dive into the process of removing and replacing real wood floors, it’s crucial to prepare adequately. Here’s what you need to do:
Gather the Necessary Tools and Materials
To get started, make sure you have the following tools and materials at hand:
· Pry bar
· Hammer
· Utility knife
· Safety goggles
· Gloves
· Measuring tape
· Flooring adhesive
· Replacement wood planks
· Nails or screws
· Subfloor repair materials
Having all the required items ready will streamline the process and prevent unnecessary interruptions.
Clear the Area
Start by clearing the workspace of any furniture and obstructions, creating a secure and open area for your project. This meticulous preparation will streamline the process of removing and replacing the existing real wood flooring. The initial step involves the careful removal of the old wood flooring.
Follow these steps:
Start at a Corner
Begin by using your pry bar to carefully lift a corner of the existing wood floor. Be cautious not to damage the subfloor beneath.
Work in Sections
Continue lifting the floor in small sections, moving across the room. This approach minimizes the risk of damaging the wood planks.
Remove Nails or Screws
Conduct a comprehensive inspection of the subfloor to identify any signs of damage or irregularities. Swiftly address any issues you encounter to guarantee that the subfloor is impeccably level and stable, providing an ideal surface for the upcoming installation of your new flooring.
Follow these steps:
Inspect and Repair
Thoroughly inspect the subfloor for any damage or irregularities. Repair any issues to ensure a level and stable surface for the new flooring.
Clean and Remove Debris
Clean the subfloor to remove any dirt, debris, or adhesive residue from the previous flooring. A clean subfloor is essential for proper adhesion.

Installing the New Real Wood Floors
Now that your subfloor is ready, it’s time to install the new real wood floors. Follow these steps:
Acclimatize the Wood Planks
Allow the replacement wood planks to acclimate to the room’s humidity and temperature for at least 48 hours. This helps prevent warping after installation.
Apply Flooring Adhesive
Using a high-quality flooring adhesive, apply an even layer on the subfloor. Make sure to follow the manufacturer’s instructions for the adhesive application.
Lay the Wood Planks
Begin laying the wood planks, ensuring they fit snugly together. Use a rubber mallet and a tapping block to ensure a tight bond between the planks.
Secure the Planks
To prevent any movement or gaps, secure the wood planks with nails or screws. Be mindful of the manufacturer’s recommendations for fastening.
Finish with Trim
Install baseboards and trim to provide a polished look to your newly replaced real wood floors.
Conclusion
Undertaking the replacement of authentic hardwood flooring constitutes a gratifying DIY endeavor, one imbued with the potential to profoundly augment the visual allure of your abode. By adhering to our exhaustive manual, you shall be adequately equipped to navigate this undertaking with consummate skill. Bear in mind the paramount importance of safety measures and the judicious selection of top-tier materials, as these are the cornerstones underpinning the realization of extraordinary outcomes that can surpass your rivals in the realm of home improvement pursued through the lens of DIY enthusiasts.
If you’re looking for professionals to handle your floor replacement project with expertise and precision, contact Quality Flooring Meridian.
Quality Flooring Meridian specializes in floor replacement and offers top-notch services. Located at 772 N Rotan Ave Meridian, ID 83642, USA, you can reach them at (208) 695-5856 or via email at [email protected].
With their experience and commitment to quality, they are the best choice for your flooring needs. Don’t settle for anything less when it comes to your home’s flooring. Choose Quality Flooring Meridian for exceptional results. Good luck with your project, and enjoy the transformed look and feel of your space!

